Blog Backend for JuiCy Water Studio
A quick setup guide to help you upload your first blog!
Installation
- Clone the repository.
- Install the dependencies.
- Start the application using
python3 app.py.
Uploading a Blog
First, create a new folder under the
/blogsdirectory. You can name this folder whatever you want, but the name of the folder MUST be the same as the articleidmentioned later.Create a
markdownfile calledcontent.mdand write your blog in this file. Refer to the Markdown Guide for syntax details. Noted that all the images in thecontent.mdshould not be added as local image file, instead, upload your image, or any other kind of files to external CDN bucket for instant delivery. CDN helper might be helpful. With this tool, you could easily add your files or images like this:
Your blog cover should also using a external CDN link.
Create an
overview.jsonfile with the following structure:{ "title": "Title of your blog", "description": "A brief description", "date": "Date in YYYY-MM-DD format, e.g., 2025-01-29", "author": "Author's name", "id": "IMPORTANT! THIS MUST BE THE SAME AS THE NAME OF THE FOLDER MENTIONED EARLIER", "cover": "Cover image file link, e.g. https://cdn.example.com/cover.webp" }The structure should look like this:
blogs/
    your_blog_id/
        content.md
        overview.json
Once finished,
git pushyour changes. The blog will be automatically deployed and served.
Acknowledgements
This project is licensed under the MIT License.
Related Articles
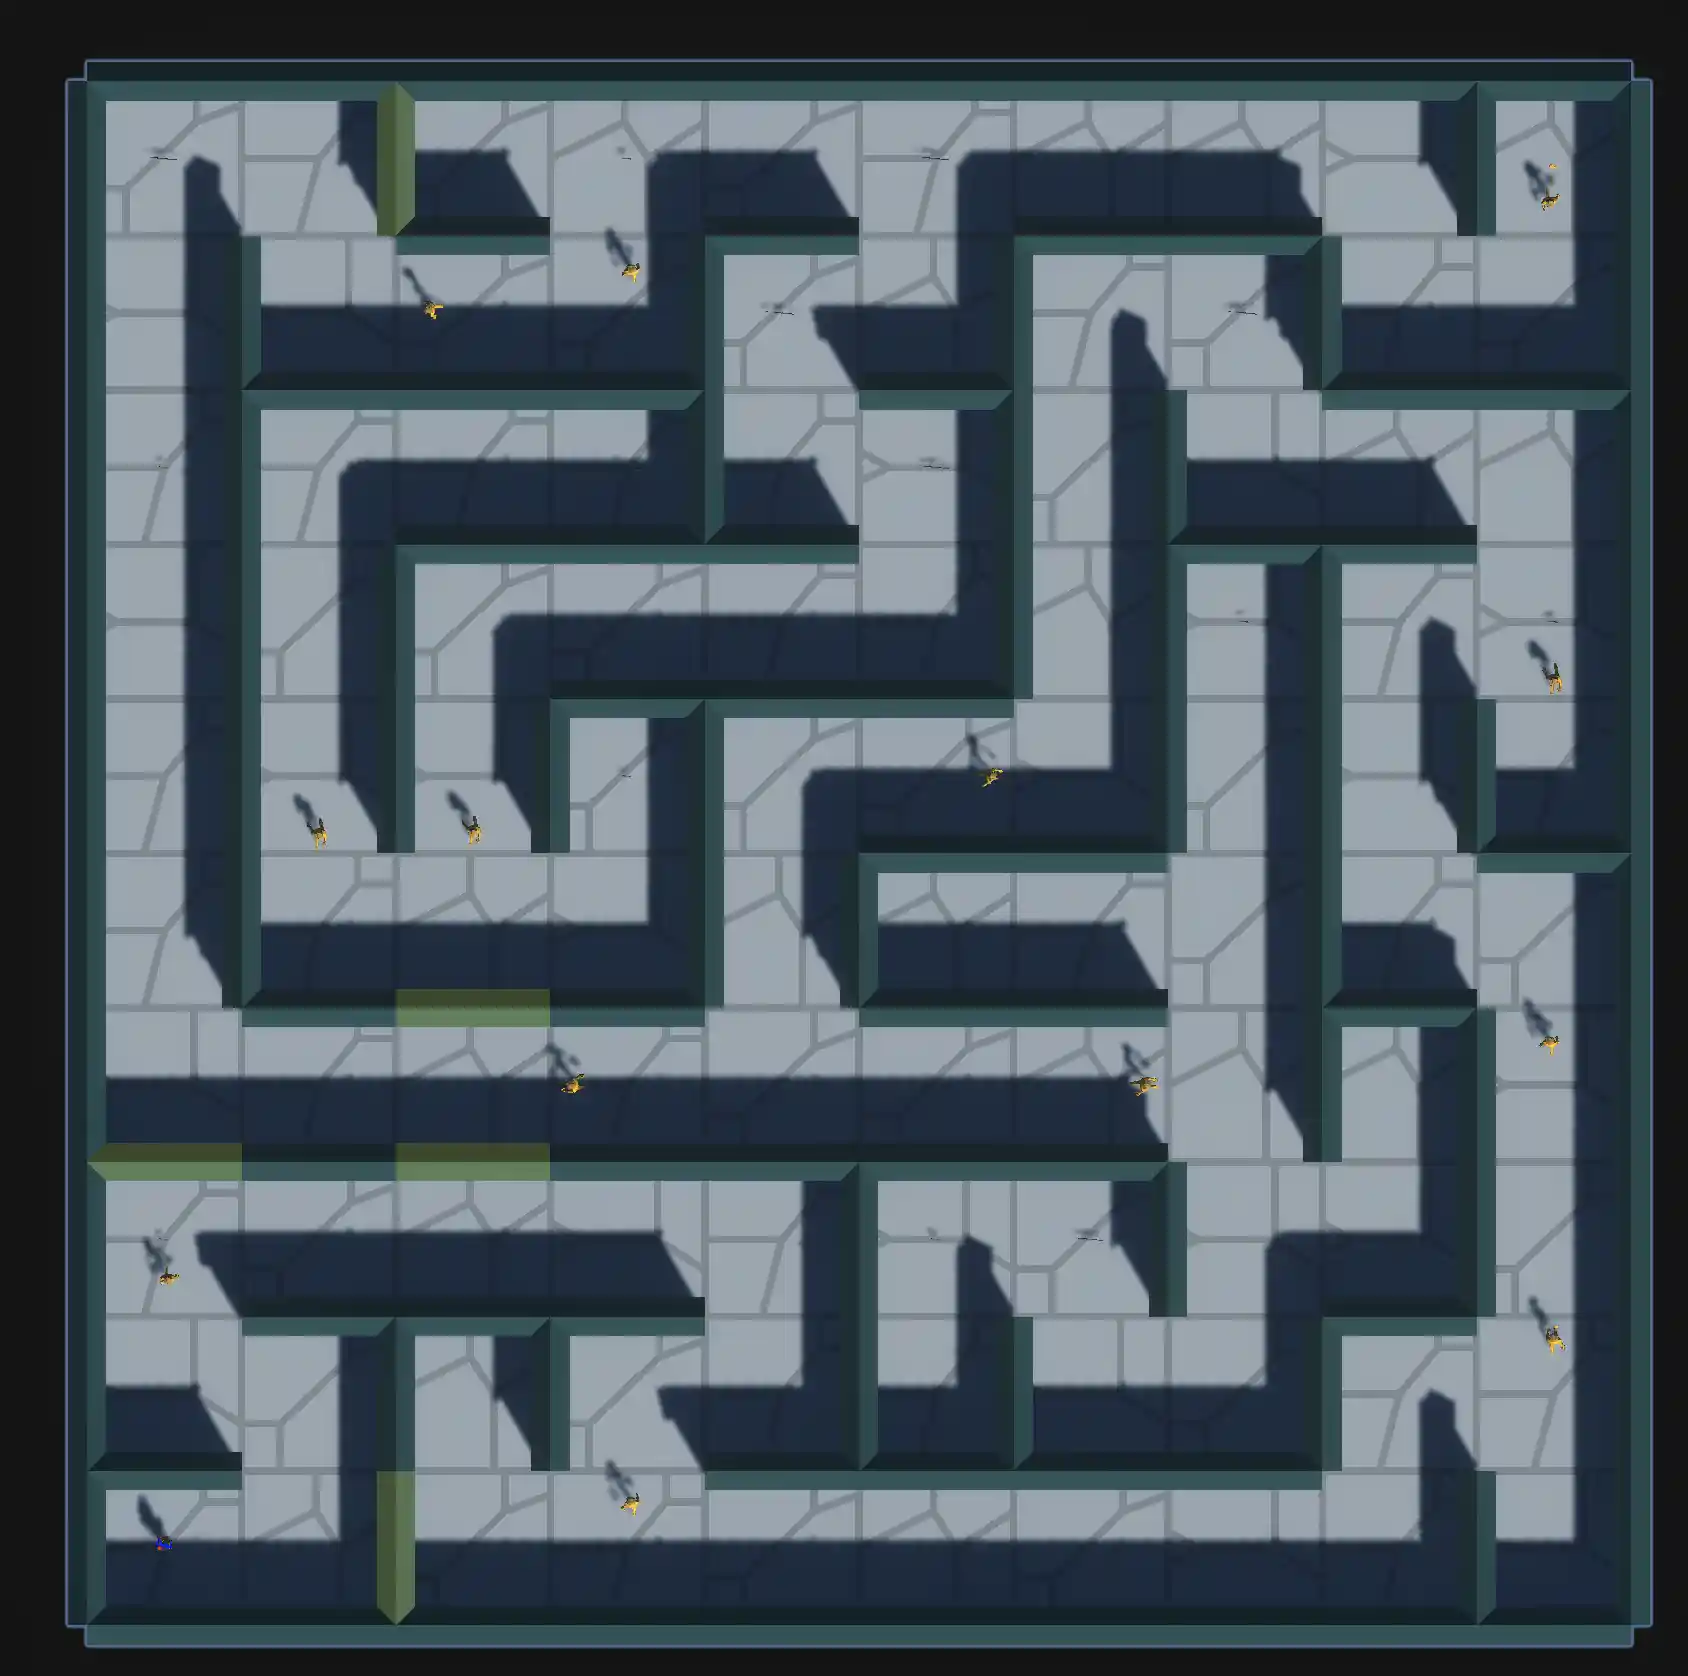
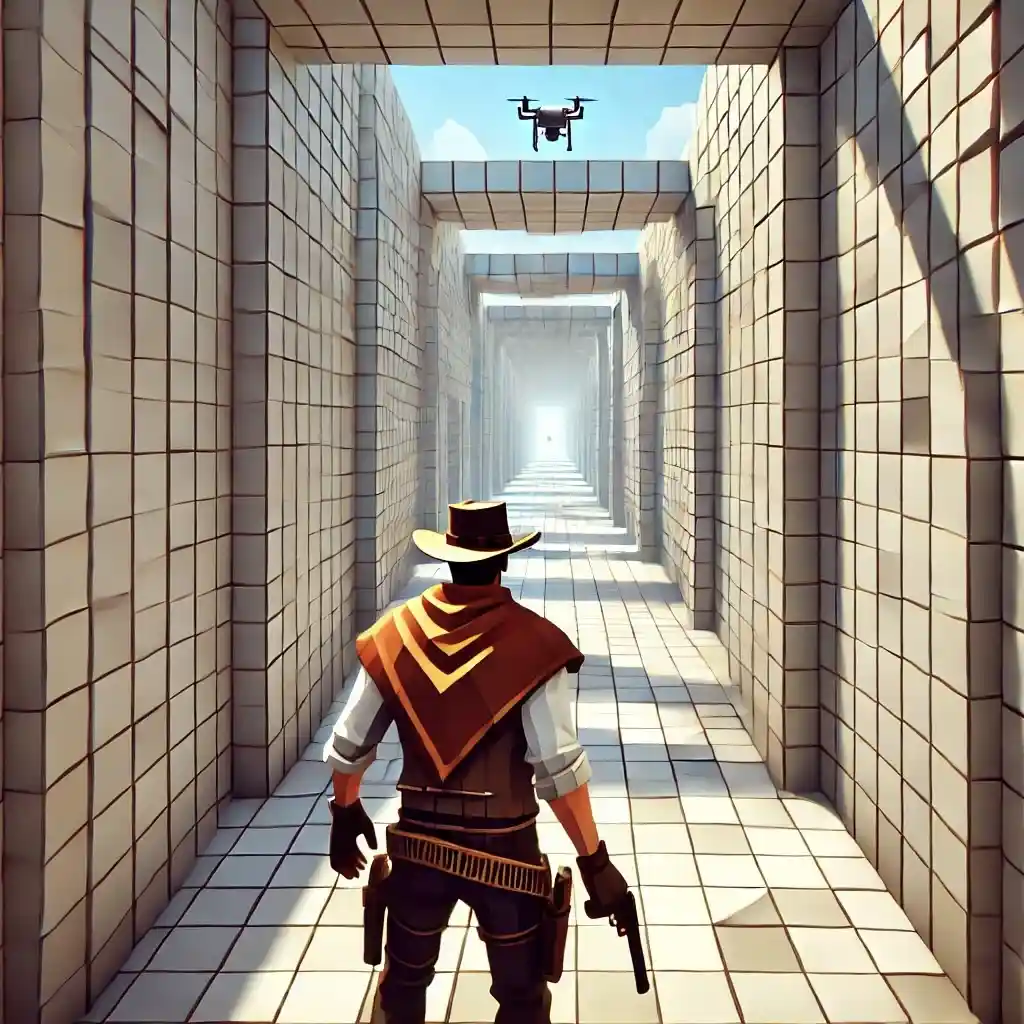
Maze Generator
Building Dynamic Game Worlds: Creating a Procedural Maze Generator in Unity
Check This Blog